
Snowflake Lacing
Back in November last year I was able to get my hands on a decent condition DMR Trailstar Mk2 frame, I wanted one of these back in the early noughties when I was a teenager but could never afford it on the £12 a week that I earned as a paper boy so to finally own one I thought I had to build it properly.
Over the last few months I’ve been scouring the internet for pieces of the build and I’m very nearly there. It’s going to be a slightly obscure build with 2x9 Sram X9 gearing and Shimano XT parallelogram vee brakes but it will also be used as a teaching tool when I’m doing courses so having a front derailleur and vee brakes will be helpful when explaining how to adjust those parts of bikes (as all my other bikes are 1x and run disc brakes).
When I initially thought about this build I very quickly came to the conclusion that I was going to build the wheels with “snowflake” lacing, I’ve always wanted to try it and a retro build seemed like the perfect time to do it!

So here we are, my first go at snowflake lacing…
I started off by doing a bit of research from various other blogs and youtube videos to find out the best way to get the correct length spokes for snowflake lacing as due to the twists the spokes need to be longer than they would be in a standard 3 cross laced wheel.
I worked out the spoke length using my usual methods of measuring the hub and rim and then inputting the measurements into Wheelpro.co.uk/spokecalc/, I’ve used this site for years and its always been consistent in the accuracy of the spoke lengths it recommends. After getting the spoke lengths for a normal 32 hole, 3 cross lacing pattern I added 4-5mm to those lengths to get the length of spokes I needed. This was for a 26” rim so you may need to add more for a 27.5” or 29” rim. (I might explore this lacing on bigger wheels in the future…)

I started off by lacing the wheel in the normal way that I lace a 3 cross wheel but only putting the nipples on a couple of turns. Once I had laced the whole wheel I then undid each intertwining pair of spokes, twisted them around each other twice and re-threaded the nipples on back in the holes that they initially came out of. I repeated this all the way round on both sides of the wheel.
There are a few ways to create a snowflake laced wheel but I chose to stick to the double twist as then the spokes go back in the same hole they were initially laced into, keeping it relatively simple and not overcomplicating it. I may try some more complicated lacing patterns another time.

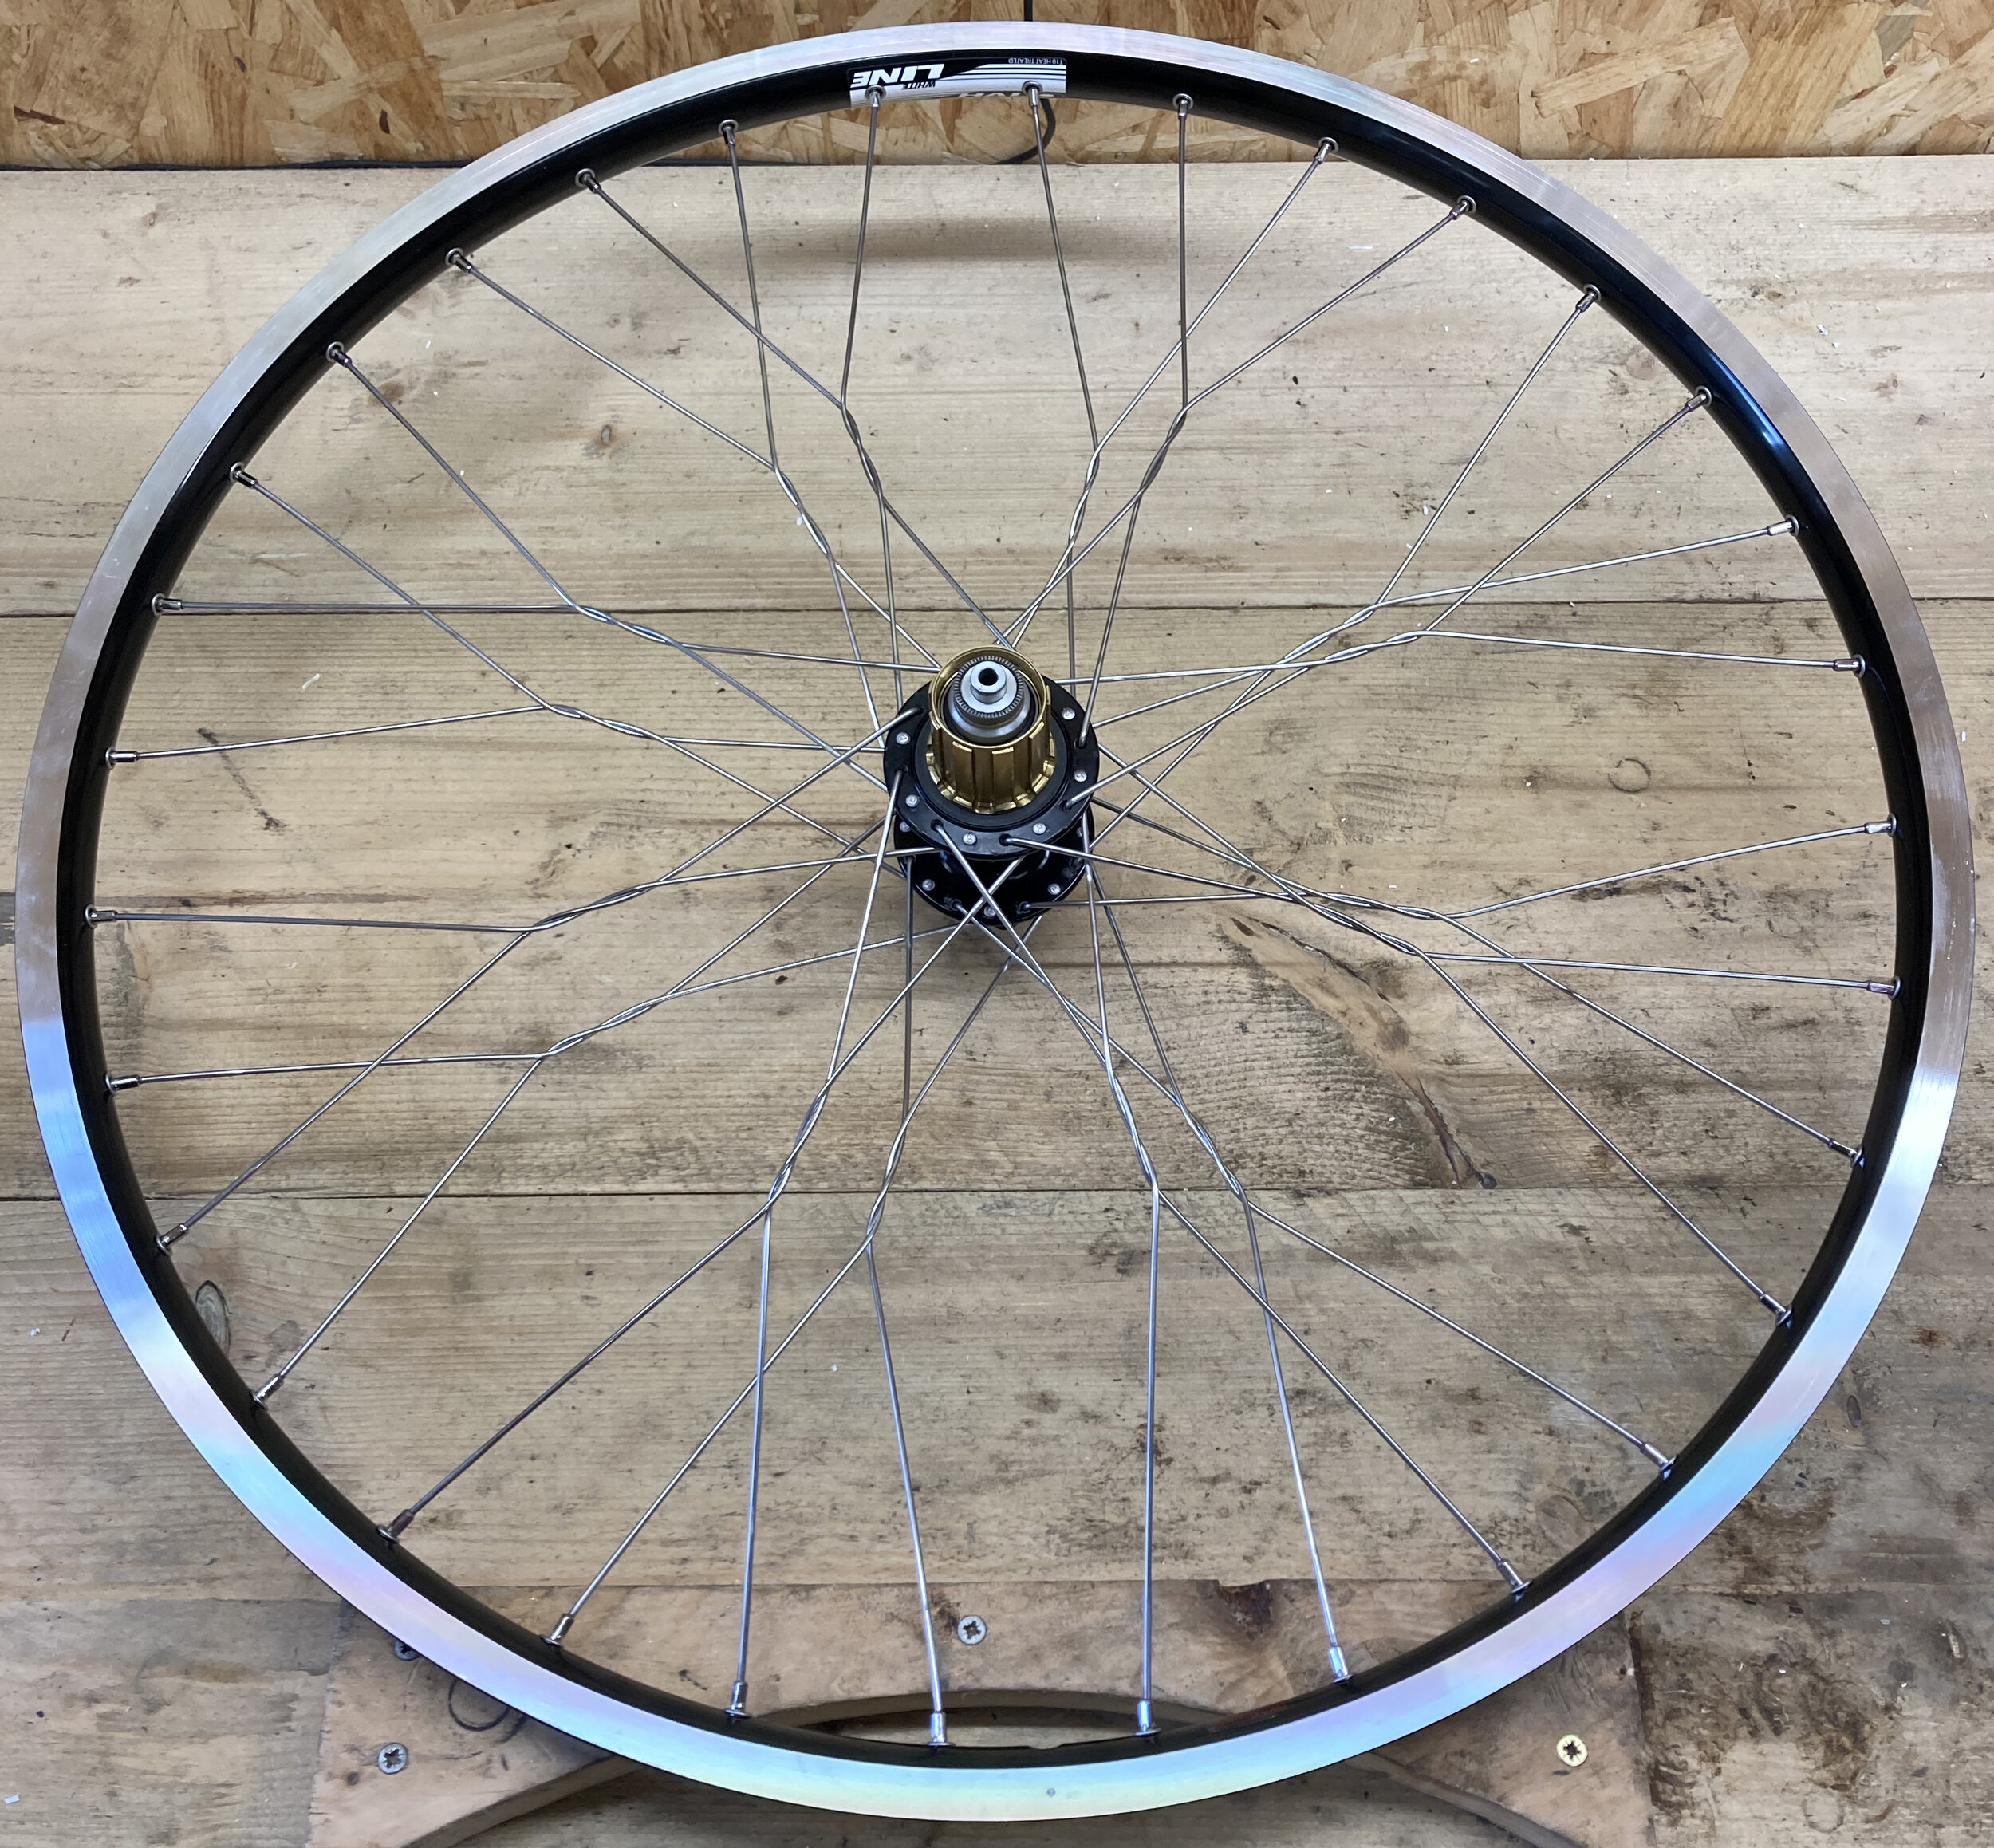
Here’s the freshly snowflake laced wheel.
After getting all the spokes twisted and the nipples back on I had to get the every spoke to the same starting tension by threading each nipple down to the end of the thread of the spoke. This is the same as you would with building a wheel with any other lacing pattern and gives you an even starting point to add tension.

Once all the nipples were at the same place it was time to start adding some tension to the wheel.
There seemed to be a variety of views online about how to go about tensioning a snowflake wheel but I decided to try going about it the same way I normally would. This generally worked fine and there were only a couple of times when the twists seemed to affect the tension or true of the wheel. I did find that it was a little harder to stress the spokes as the added tension from the twists meant that I couldn’t squeeze the parallel spokes that well to help them settle. (I would usually squeeze the pairs of parallel spokes on each side of the wheel a few times after each round of tensioning and truing, this helps the spokes and nipples settle in their seats in the hub or rim.) I also found that even with relatively even tension it was much harder to get the eggs (or up and down trueness) out of the rim, but with a bit of perseverance I managed to end up with a round and straight wheel.

The final product. I still love the look of snowflake lacing!
When I finished the tensioning and truing I added some Loctite 222 (similar to DT Swiss’ Spoke Freeze) to help the wheel stay tight and true and it was done.
One of the biggest things I noticed when the wheel was finished was just how stiff the wheel/spokes feel. I’ve heard a lot of stuff about snowflake lacing over the years and the most common thing said was that it created a wheel that wasn’t as strong as a standard 3 cross wheel but after lacing my own I’m not wholly sure that that is the case. The bike this wheel is going on will be more of a show/demonstration bike so these wheels won’t ever get hammered but I may have to try snowflake lacing on my trail bike’s wheels in the future to really put the theory that it isn’t as strong to the test.
I hope you found my first foray into snowflake lacing interesting, please let me know if you did and if you’ve got any tips of your own by dropping me an email on: rpbiketech@gmail.com
Watch out for more Tech Tuesday post’s coming soon!